Graphite pencils are one of the most common tools used for drawing and writing. This blog post will provide a step-by-step guide on how to use graphite pencils for beginners, including the different types of graphite pencils and how to choose the right one for your needs.
This post may contain affiliate links, which means we’ll receive a commission if you purchase through my link, at no extra cost to you. Full disclosure here.
Graphite pencils can be used in a variety of ways. Thin or thick strokes can be used, as well as different types of shading such as cross-hatching, blending, and pointillism. Graphite is softer than other mediums like charcoal, so it is a great choice for beginners as it’s easy to work with.
Different Types of Graphite Pencils
Before we dive into the basics of using graphite pencils, it’s important to understand the different types of pencils that are available.
Graphite pencils come in a range of hardness levels, indicated by letters and numbers on the pencil.
The most common hardness levels are:
2H, H, HB, B, 2B, 4B, 6B, 8B
The ‘H’ in the hardness level stands for ‘hard’, and the ‘B’ stands for ‘black’. The higher the number in front of the ‘H’ or ‘B’, the harder or softer the graphite core of the pencil is.
For example, a 7B pencil is darker than a 2B pencil, and an 8H pencil is lighter than a H pencil.
HB pencils land in the middle of the levels.
The brand of pencils used can play an important role too. Faber-castell is a great brand that is reliable and trustworthy.
Here is the set I use.
Choosing the right graphite pencil
The type of graphite pencil you choose depends on what you want to achieve.
So, if you’re drawing something that requires fine details a harder pencil like a 2H or H would be a good choice.
Or if you’re drawing something that requires shading or creating a range of tones, a softer pencil like a 2B or 4B would be better suited for the job.
There are even water-soluble graphite pencils! We wrote a blog post about them here.
How to hold the pencil
Writing grip vs Overhand grip
There are a number of ways to hold a pencil while drawing. Most beginners use the same grip as they use for writing. This can be a big problem, as it drastically limits the motion you can create.
If you think about how little of an arc you can make with your fingers, it makes sense that drawing this way will lead to unconfident, wobbly lines.
The overhand grip is when you hold the pencil by placing your hand over it (sounds obvious right?)
You then make strokes using your shoulder and/or elbow to move the pencil, and not your fingers/wrist.
The motion you can create this way is so much greater and smoother.
Don’t get me wrong, the writing grip is perfectly fine for small drawings or details, but anything bigger than that will benefit greatly from the overhand grip.
It’ll feel awkward at first, for a few weeks, but trust me, this will drastically improve your linework and your art in general. You don’t want to get stuck in the habit of using only the writing grip. The vast majority of professional artists draw the majority of their lines using their shoulder/elbow to move the pencil.
If you don’t like holding it overhand, you can hold it with the writing grip, but move the pencil with your should/elbow. This works almost as well, the only thing is it’s harder to create broad strokes using the side of the pencil this way. You can swap to the overhand grip whenever a broad stroke is needed though.
Tips for Using Graphite Pencils
Here are a few tips to keep in mind when using graphite pencils:
Shading
There are many ways to shade with graphite pencils, such as cross-hatching, pointillism, and scumbling. We have a post about each process, you can check it out here.
Start with light pressure
When starting a drawing, it’s best to use light pressure to create a faint outline. This allows you to make adjustments and corrections before committing to a final drawing.
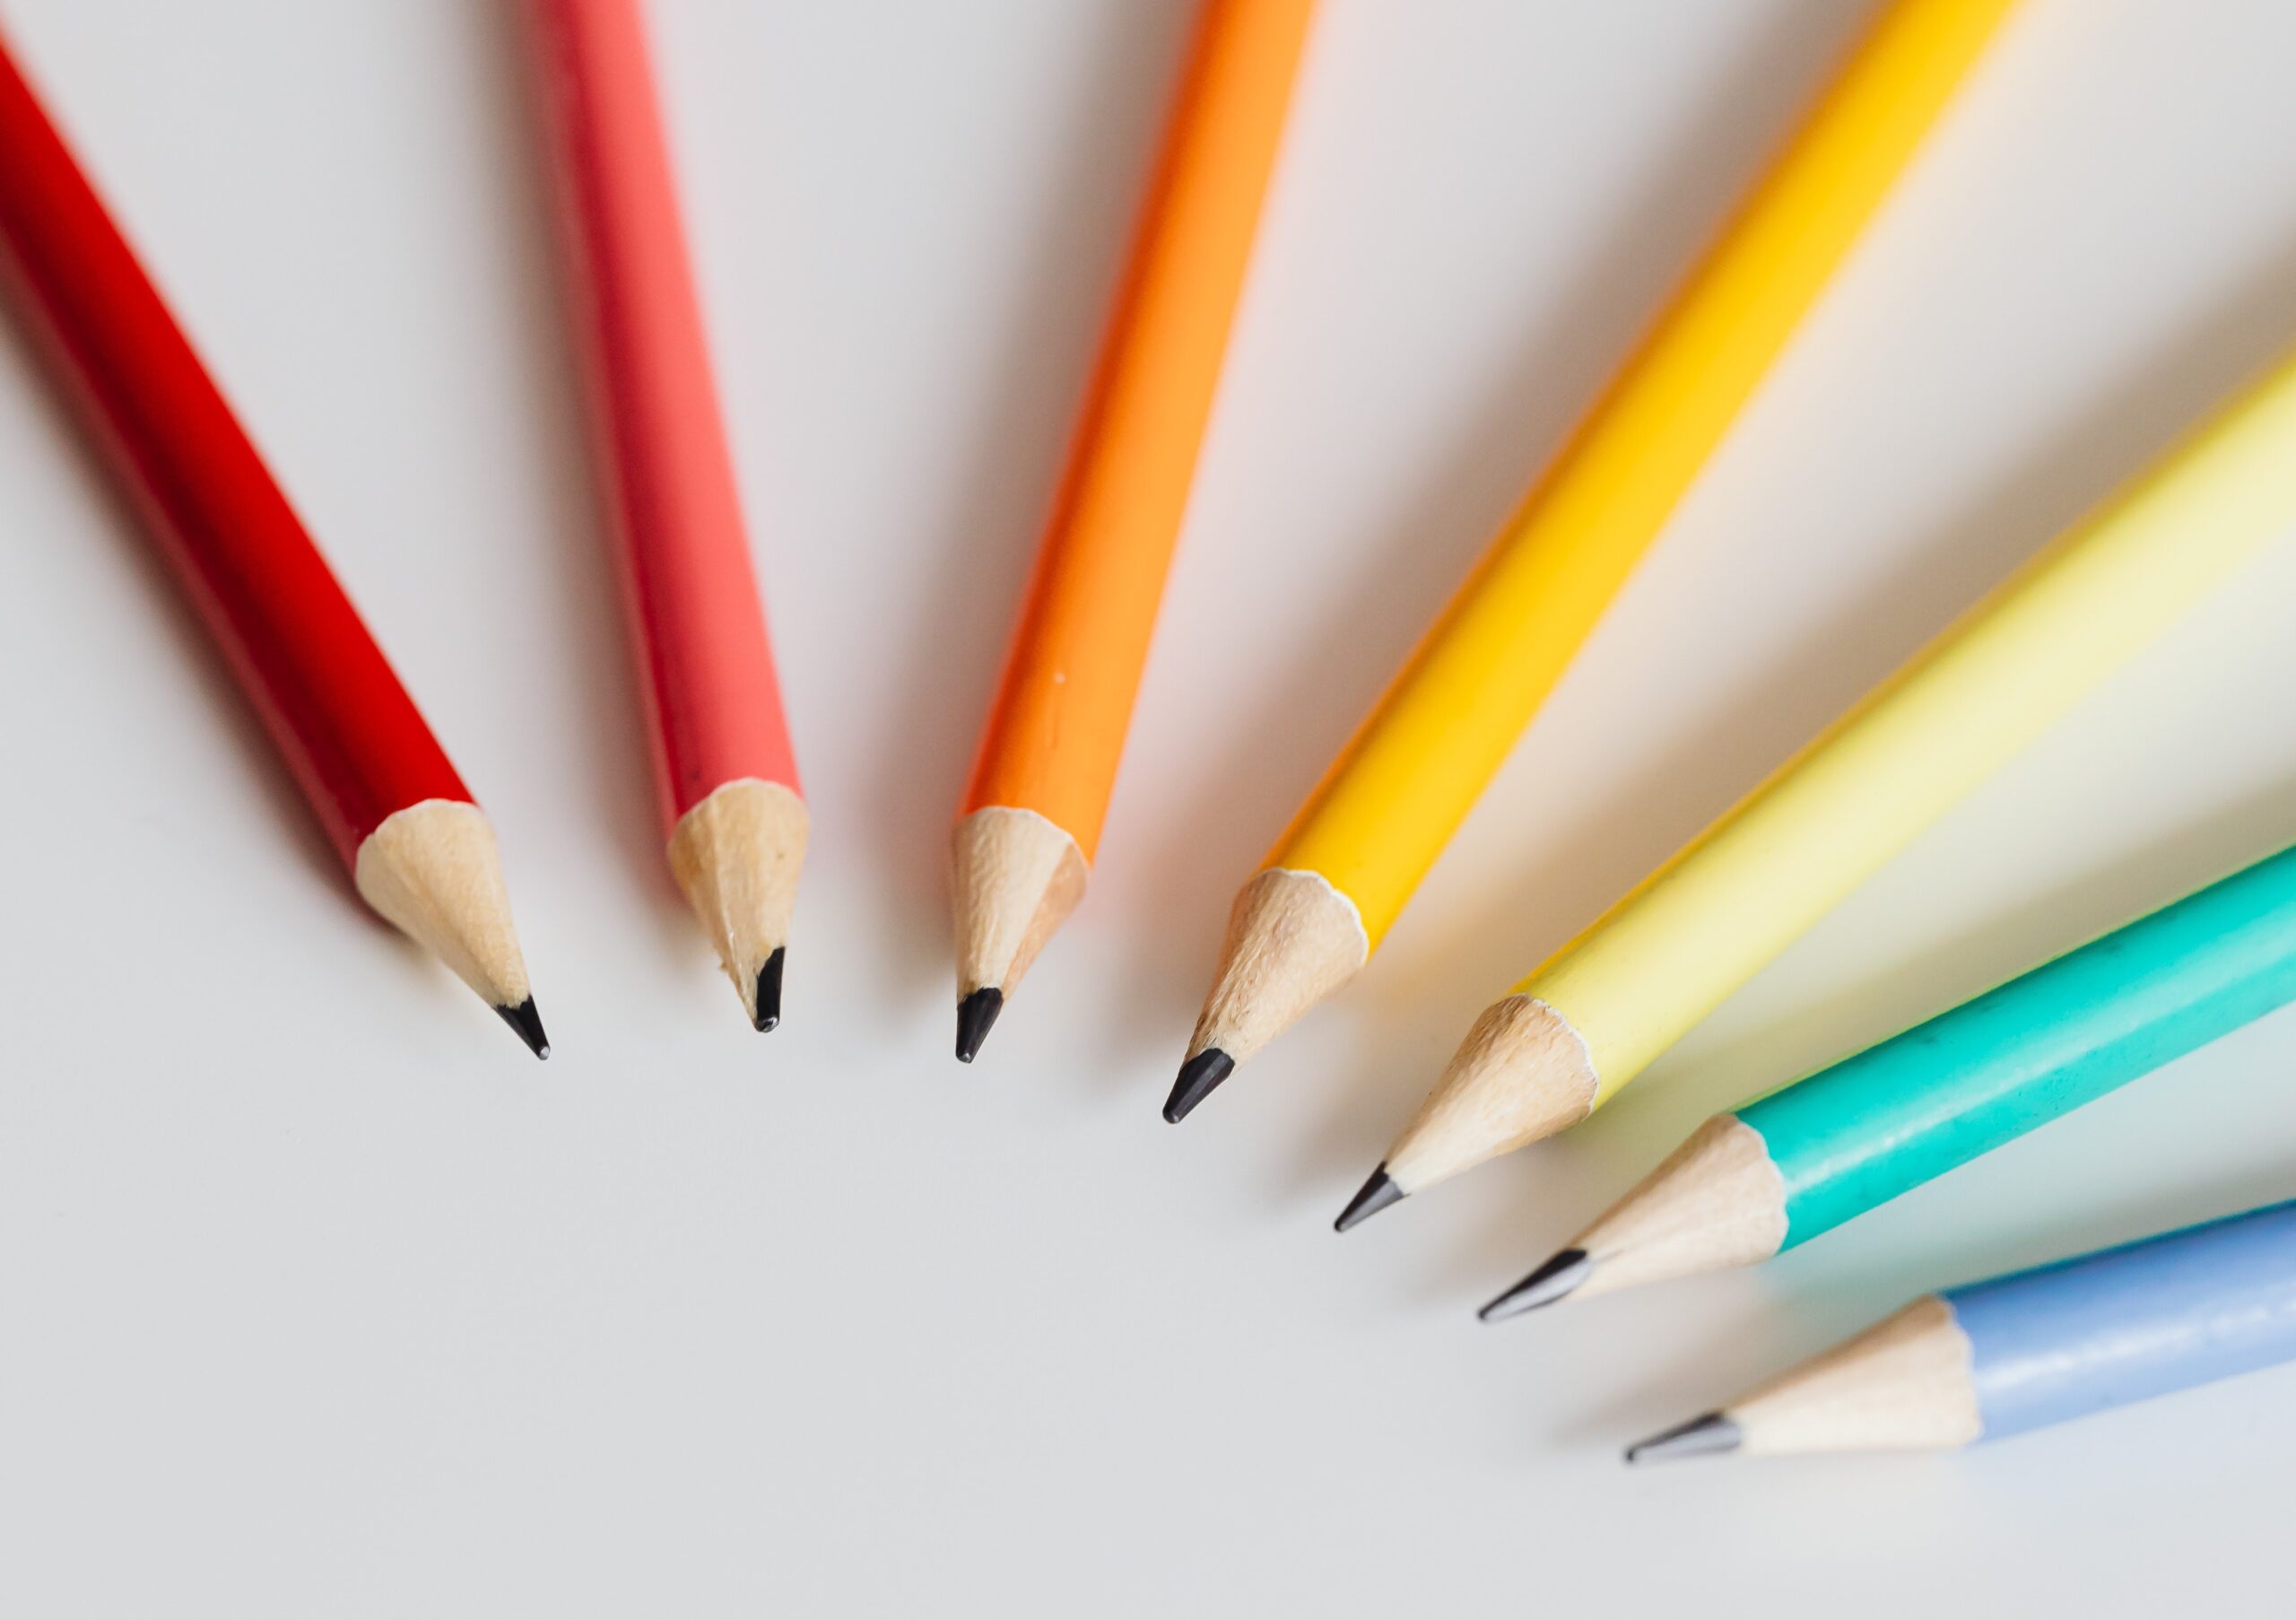
Use a variety of pencils
Experiment with using different hardness levels of pencils to create a range of tones and textures.
Keep your pencils sharp
A sharp pencil allows for more precise lines and better control over the pencil.
Practice, practice, practice
Like any skill, using graphite pencils takes practice. Don’t be discouraged if your first few drawings don’t turn out the way you want them to. Keep practicing and experimenting with different techniques. Over time you’ll become familiar with your different types of graphite pencils and will know exactly what you need for the job!
The bottom line when using graphite pencils
Graphite pencils are a versatile tool for drawing and writing for beginners and experts alike.
With a little practice, they can be used to create a range of tones and textures.
By understanding the different types of pencils, holding the pencil correctly, and using a variety of techniques, beginners can use graphite pencils to create beautiful drawings.
Remember to start with light pressure, keep your pencils sharp, and don’t be afraid to experiment with different techniques. With these tips in mind, you’ll be on your way to creating stunning graphite pencil drawings in no time.
If you enjoyed this post, please consider subscribing to our mailing list to see future posts and for a chance to be drawn!