Press ESC to close
Virtually everyone, artist or not, wants to know how to draw a rose. Who wouldn’t want to know how to draw the universal flower of love?
There are many types of ways to draw them, ranging from super-simple to hyper-realistic, closed to open, top view to side view.
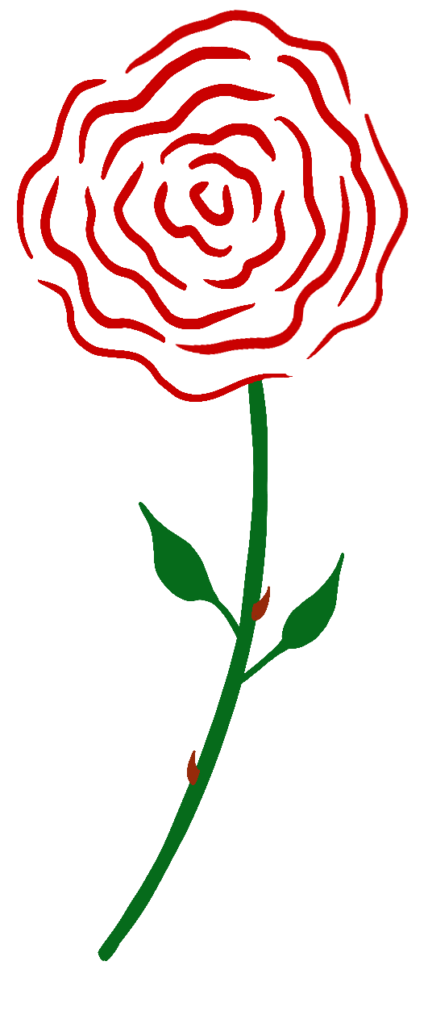
In this post I’ll show a step by step, quick and easy method for how to draw a beautiful, simplified rose in a matter of seconds, with just 4 easy steps. I use color, but it looks just as good with pencil! Let’s get into it!
Step 1: Draw the center squiggles.

This simplified design is just short squiggly lines going around in a circle. Each one represents a petal. Start at the center, and go around it one petal at a time.
Make sure to make it as fluid and random as you can – nobody like a perfectly curved, symmetrical rose.
Step 2: Build up the petals.

Add more petals. Try not to start at the same point of the inner petal (in other words for each new circle of petals try to make each one cross over the gaps of the smaller inner circle).
Step 3: Add a simple curved stem.
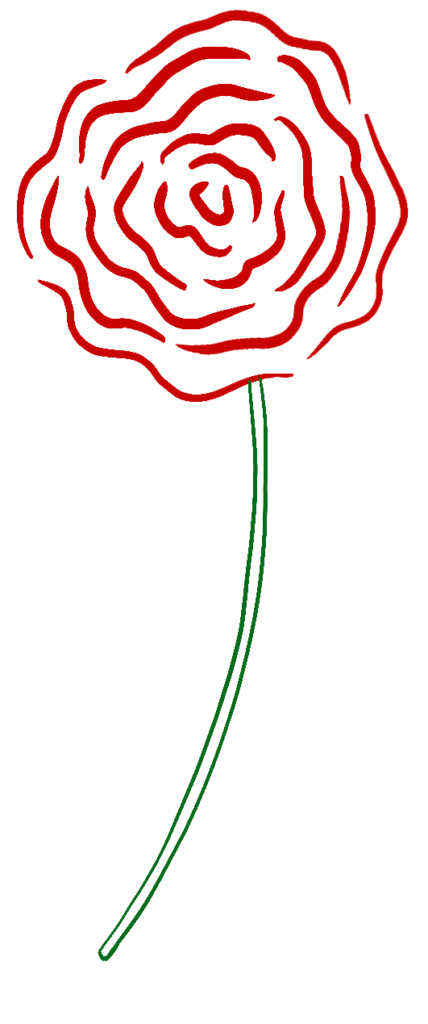
Try to make it around the same width all the way down (but not too even), and give it a bit of a curve.
Step 4: Add a few leaves and some thorns.
And you’re done! Roses like these are my favorite thing to doodle, because they’re so fun to draw, and look pretty awesome and impressive! The trick is in the randomness of each squiggle! Practice letting your hand loose and you’ll have it down in no time!
Only if you enjoyed this blog, sign-up for our email list to get reminders for new blogs! And remember… Explore, experiment, discover, practice, and most importantly, have fun!
Recent Posts.

Top 5 How to Draw Art Books for Kids in 2022

5 Best Anatomy Art Books For Beginners
Top 6 Best Quality Watercolor Paper Pads for Beginners in 2022

6 Best Artist Paint Pens for Beginners in 2022
WE DRAW ONE
SUBSCRIBER EACH MONTH
When you subscribe you get a chance each month to be drawn by Smashing Pencils and have it sent to you. We also email each of our subscribers our “8 Steps to Better Artwork” guide as our welcoming gift to you.
Recent Posts.

How to Draw a Simple Rose In 4 Easy Steps – 2022 Tutorial
How to Draw a Nose From the Front in 8 Steps – 2022 Tutorial

7 Fundamentals of Art – Explained (with Examples)
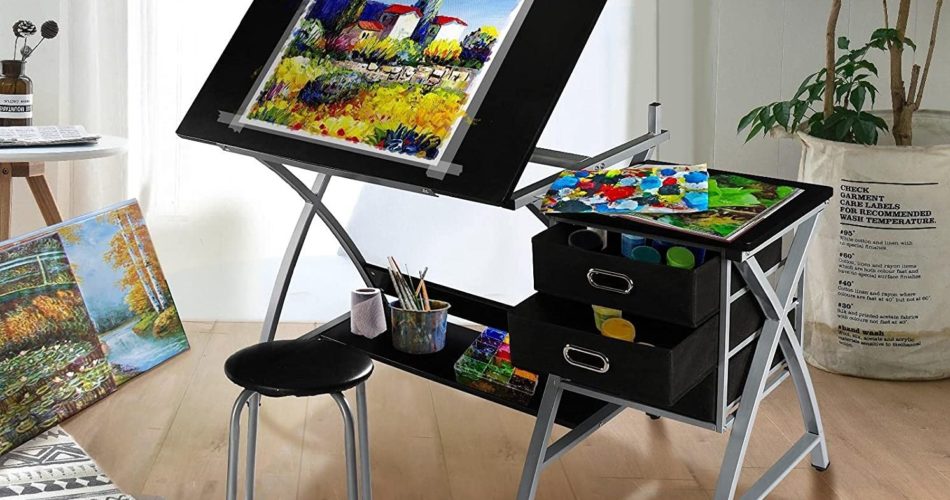
6 Best Adjustable Desks for Artists/Designers in 2022

Social.
WE DRAW ONE
SUBSCRIBER EACH MONTH
When you subscribe you get a chance each month to be drawn by Smashing Pencils and have it sent to you. We also email each of our subscribers our “8 Steps to Better Artwork” guide as our welcoming gift to you.
