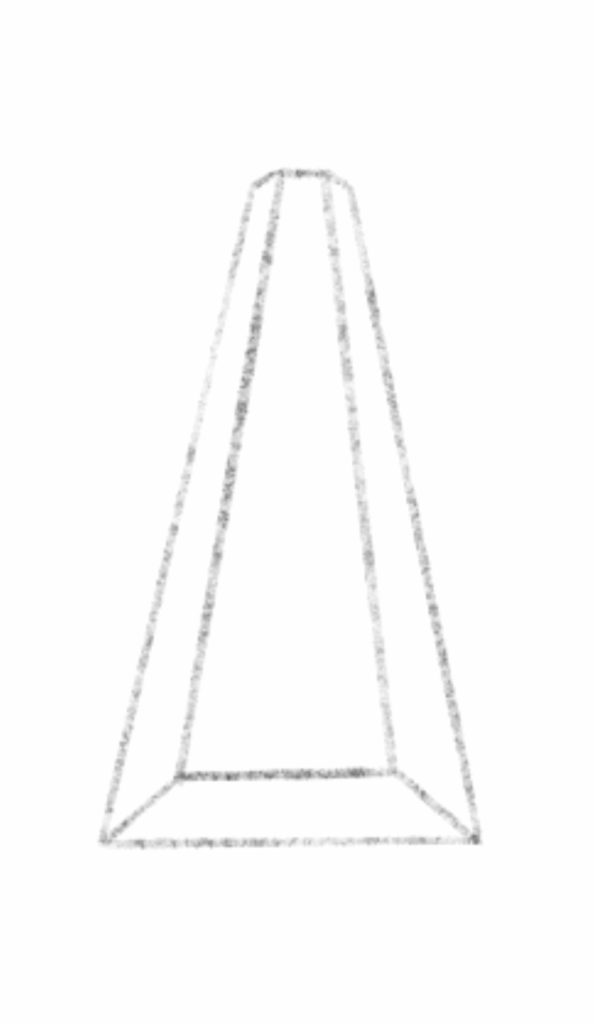
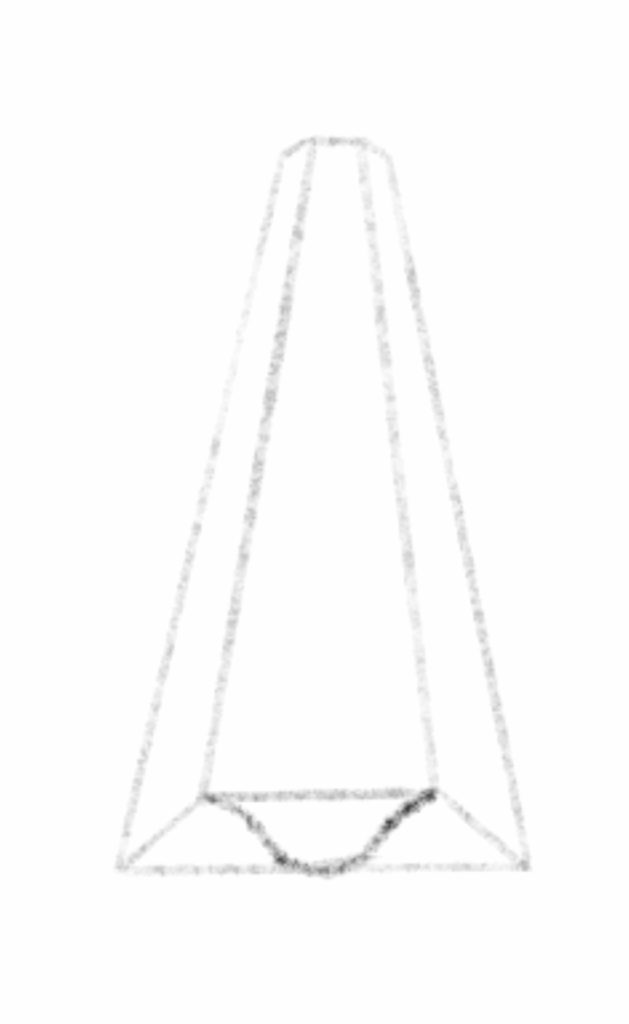
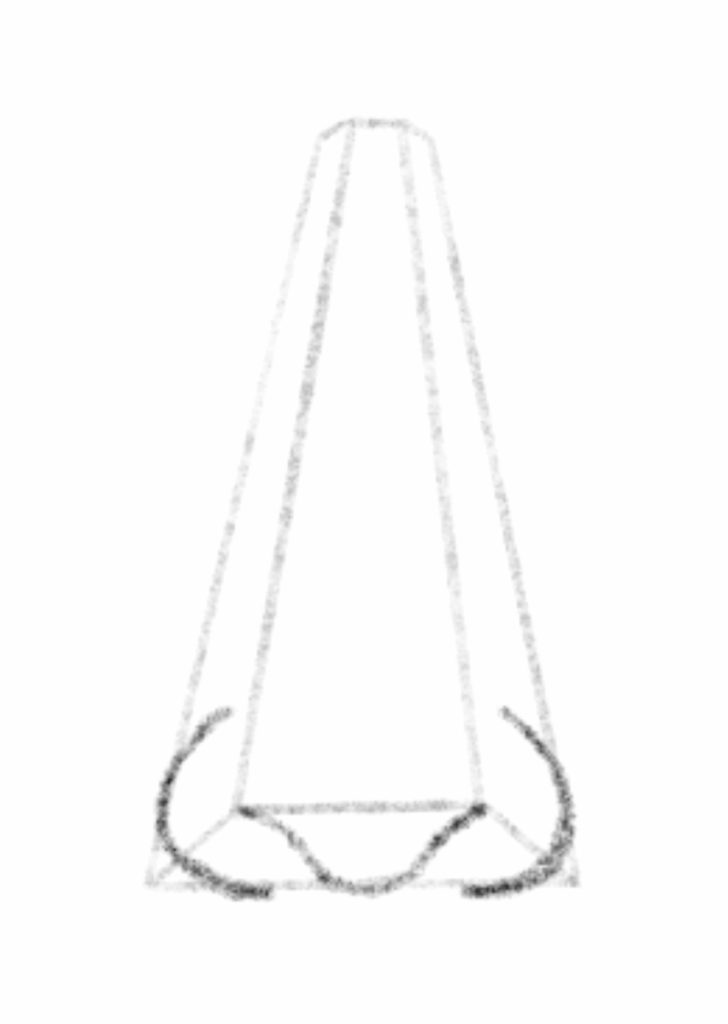
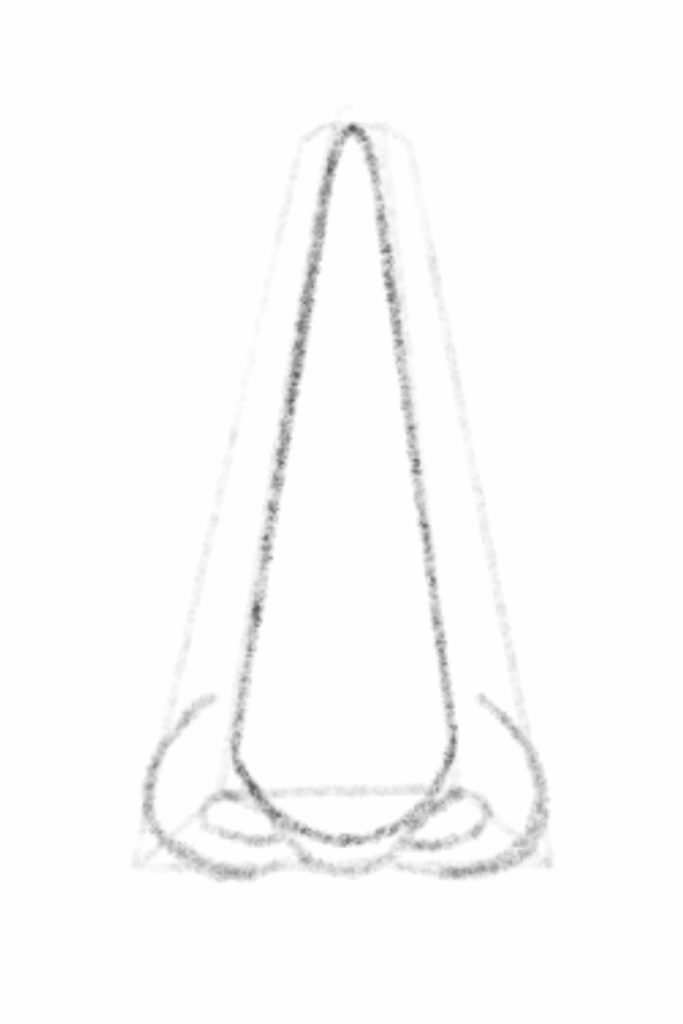
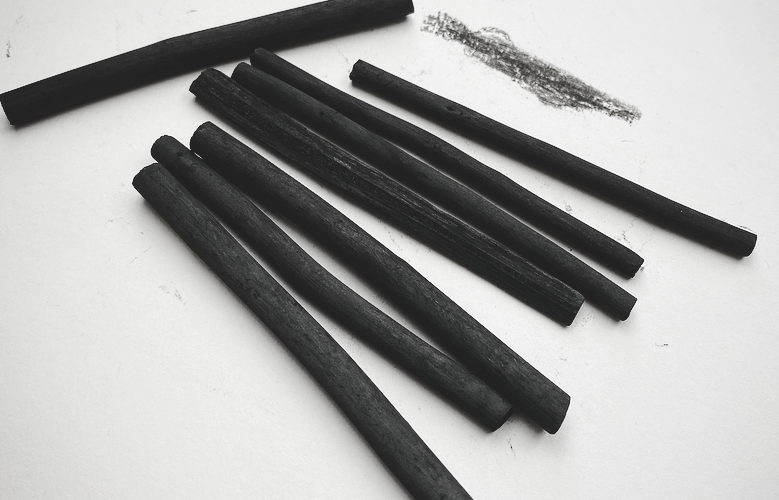
Press ESC to close

WE DRAW ONE SUBSCRIBER EACH MONTH

When you subscribe you get a chance each month to be drawn by Smashing Pencils and have it sent to you. We also email each of our subscribers our “8 Steps to Better Artwork” guide as our welcoming gift to you.

How to Draw a Nose From the Front in 8 Steps – 2022 Tutorial

how to draw a nose step by step

Who doesn’t want to know how to draw a nose?

Because noses are the center of our face, it makes them one of the most important features to get right if you want to draw convincing, realistic drawings. But their unusual shape, with all of its turns, holes, creases, can make it seem confusing and impossible.  

The key to drawing them – and most things – is: simplify it first. We need to start off by thinking of the basic form, and then add the details/shading. 

The shading is usually the part that seems the toughest, which art tutorials don’t seem to talk about. I like knowing what the hard part is beforehand, so I can focus my attention at the right part. 

The shading makes a lot more sense when you think about the basic form. There is absolutely no point in worry about the details at the beginning – focusing on the basic form gives you the intuition needed to understand naturally where the details should go.  

Drawing the nose from the front, side, bottom, or anywhere in between are very different processes.   

The front is arguable the most difficult, but also the most desired to draw. So that’s what this post will teach you to do by showing you the 8 steps I use to draw noses from the front.

The pencils you use can have a huge impact on your results. I use these Faber-Castell pencils that I got here on Amazon. This set has been my go-to set from the start and has been with me through thick and thin.

So let's get into the steps for how to draw a nose from the front! 

Step 1: Draw the general 3D shape

Forget about all the intricate details for now – just focus on the general 3D form. This is easy to visualize and to draw, and will make your life 10 times easier drawing it first.

Here you can see it’s just a box-like shape that narrows at the top and front.

Step 2: The tip of the nose

Now you can draw a rough “U” shape for the tip/ball of the nose.

Try to curve the lines slightly to get the right shape of the nostril in the coming steps. 

Step 3: The outer nostril-wings

Draw the outer “wings” of the nostrils at the edges of the base of the 3D shape.

Step 4: Fill in the gaps

From the U-shape drawn earlier, extend each side around and back into the septum to draw each nostril. Extend the bottom of each wing.

Step 5: Tear-drop shading guideline

Now, for the general shading, draw a tall tear shape. This will serve as a general guide for where to start shading.

The parts outside the tear will be the darker tones and inside will the the mid-tones and highlights. 

Step 6: Light shading

Roughly shade outside the tear shape a similar medium-light tone. Remember, it doesn’t have to look good just yet, this is just to give you something to work with. 

Step 7: Blend and darken areas

Use you finger, a blending stump, a Q-tip, tissue, or any way you like to blend most of your marks in small circular motions to smoothen out the marks. 

Darken the nostrils. The nostrils (especially the inner parts) receive little to no light, so they will be almost pure black. Darken them as dark as you can without damaging the page. 

The very outer lines of the wings are also very dark as it’s a crease where the nose joins the face. 

Step 8: Tidy-up

Blend  any new marks, darken up the nostils, the bottom of the tip of the nose, and the side wing-creases.

The highlights are usually at the tip of the nose, and along most of the center line of the base.

Lastly, use a kneaded eraser or regular eraser to lift up some pencil for the highlights, and the clean up any messy parts.

And you’re done! Remember – the nose is a complicated thing to draw! People assume it should be easy because we see them every day, but it takes the right practice to draw it well. Practice drawing noses of all shapes and sizes, from all different angles, and you’ll have it mastered in no time!

Here's an alternate way to draw them too!

Check out the related blogs for more art tips!

Recent Posts.

Social.

WE DRAW ONE
SUBSCRIBER EACH MONTH

When you subscribe you get a chance each month to be drawn by Smashing Pencils and have it sent to you. We also email each of our subscribers our “8 Steps to Better Artwork” guide as our welcoming gift to you.

Get your own free guide right now!

Tap the button below to join and we’ll send you the guide as a welcoming gift!