Photo credit: Rabbit Run 11. This post may contain affiliate links, which means we’ll receive a commission if you purchase through my link, at no extra cost to you. Full disclosure here.
Achieving smooth shading is one thing many beginners struggle with. I know I did (for a long time too). Luckily, there are supplies you can use that help so, so much and drastically improve your ability to shade smoothly and evenly.
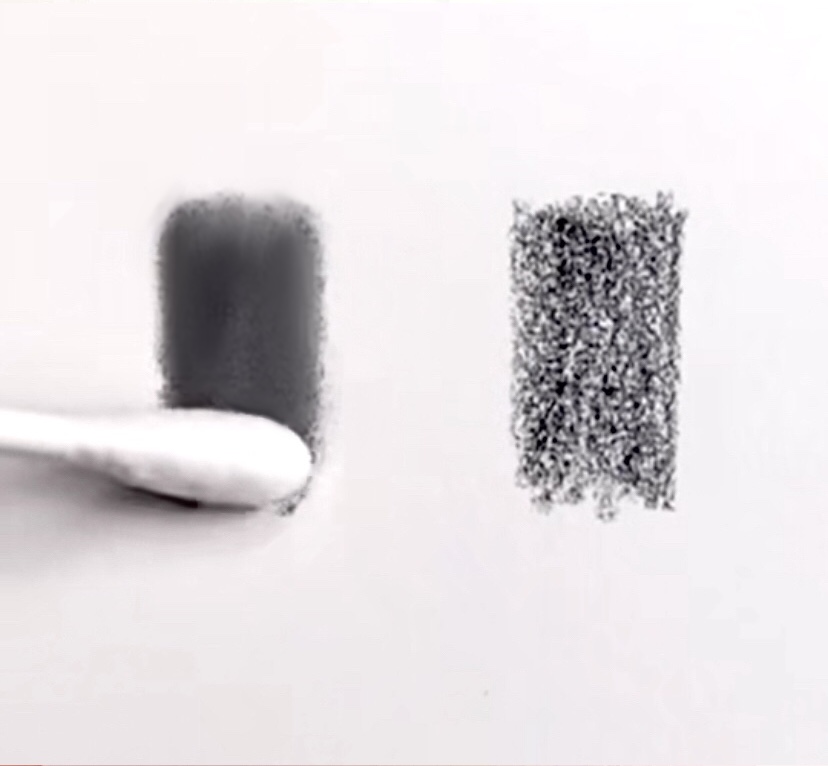
To smooth the shading in your drawings, there are a variety of tools you can use. These include blending stumps, tortillons, q-tips/cottons buds, tissue paper and chamois. Each tool has its own specific use to blend small or large areas with different degrees of smoothness.
While tools are important for smooth shading, the type of paper you use is equally important. You aren’t going to get very smooth shading on rough paper. You want to try and find smooth paper to draw on.
The tools used for blending
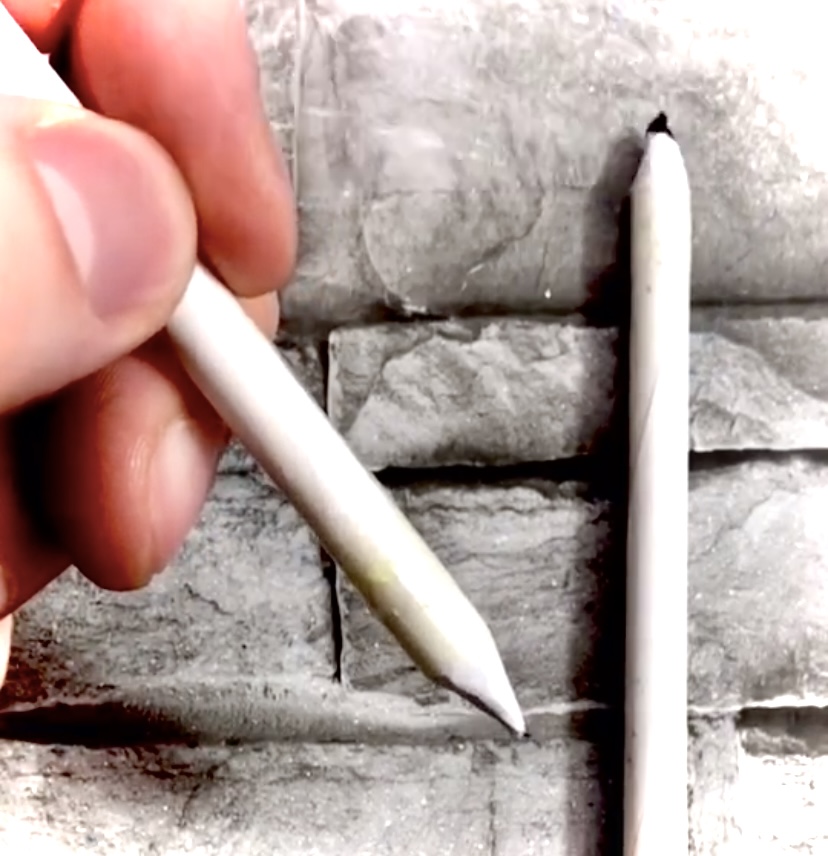
The four main supplies used for blending are:
What can you use instead of a blending tool?
Tissue paper and q-tips/cotton buds are blending tools you can find around the house (though they are still technically tools).
To blend without any tool you really only have one option – your fingers!
Fingers are usually the first way most beginners try to smooth out their shading, but this isn’t the ideal choice for the following reasons:
- Our fingers naturally contain oil which leaves a residue on the page and picks up a lot of the marks
- It is very messy, which can result in marks all over your page
- Fingers are relatively large and are no good at smoothing out small areas
Don’t worry though, blending with your fingers has it’s uses and if you’re just practicing and don’t mind the mess they’ll do the job for larger areas.
But with the different blending tools being so cheap and better in almost every way (and so fun to use!), there’s no reason not to get them.
How to smooth your shading
Regardless of what tool you use to blend, there is one thing you should be doing all the time: small, circular motion.
Beginners tend to naturally blend with a back and forth motion. This create smudges and very uneven shading because of each abrupt change in direction at the end of each stroke.
This is where circular motion comes in to save the day.
Circular motion doesn’t have an abrupt ending – it doesn’t have any ending in fact! So using small circular motion to cover the entire area of your shading, as well as a consistent pressure, will result in a smooth, even tone.
It takes slightly more time than rushed, back and forth motion, but it’s so worth it.
There may be areas that are very small and don’t allow circular motion. For these it’s best to use the tip of a blending stump, but in one motion at a time (not back a forth).
But as a general rule, to achieve smooth shading you should be using circular motion wherever possible!
What's the difference between a blending stump and a tortillon?
Blending stumps and tortillons are very similar, but have a few notable differences.
Blending stumps are made out of paper pulp, which makes them softer. This makes them better at achieving smooth shading, but also make the tip bend easier. Both ends of a blending stump are sharpened.
Tortillons are made of tightly rolled paper, making them harder than blending stumps. This makes them trickier to use if you want to achieve smooth blending, but also allows their tips to stay stiffer. This makes them ideal for very small areas. Only one end of a tortillon is sharpened.
Tip: You can use a kneaded eraser to clean the end of both blending stumps and tortillons!
Do you really need a blending stump?
This really depends on the type of drawing you’re doing, but as an artist, yes, you should definitely have one at your arsenal.
Without one, you’ll have a very hard time blending small areas.
If you don’t want to buy one, you can easily make your own.
How to use blending stumps in sketching
Like most of the blending tools, small circular motion is key.
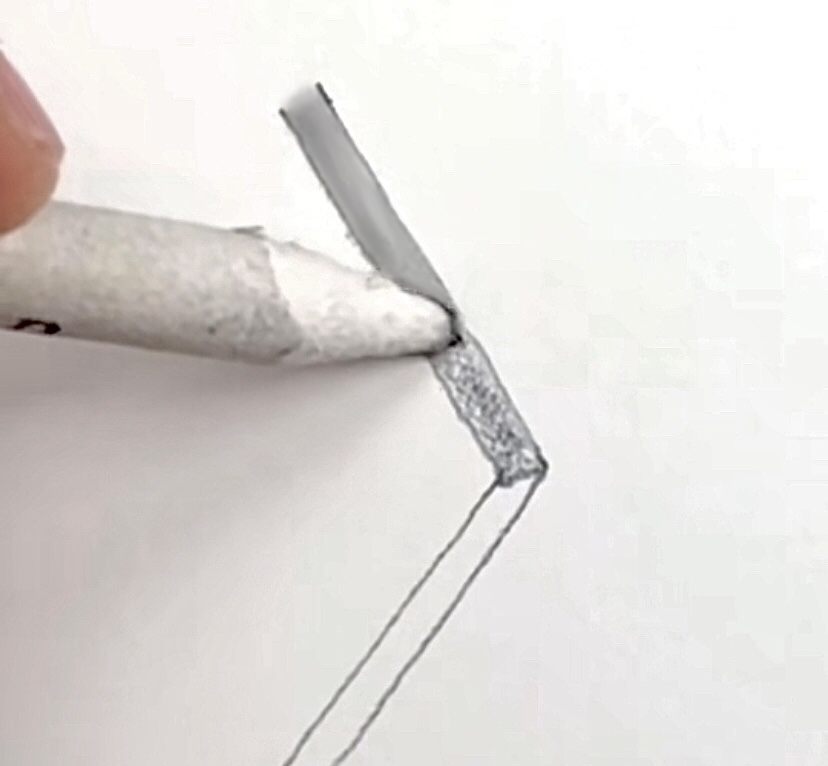
The sharp tips of blending stumps and tortillons are used mainly for small areas, but they can also be angled and used for larger areas by blending with the side of the tip.
Once the stump/tortillon is covered in pencil, you can use this itself as a mark-making tool to create smooth shading by using them the same way as with blending.
Blending stumps and tortillons pick up pencil quite fast, so having a few at your disposal is a good idea, as well as knowing how to sharpen them.
Again, you can clean them with a kneaded eraser, but this only takes some of the pencil off. The proper way is to sharpen them.
For blending stumps, you can use sandpaper or a sanding block to do this by placing it on your desk and pushing your blending stump firmly back and forth at an angle while rotating it at the tip, until all the marks disappear.
To sharpen a tortillon, you can use an xacto knife/craft knife. The process is very similar to sharpening a charcoal pencil.
Do Q-tips work for blending?
The short answer: yes!
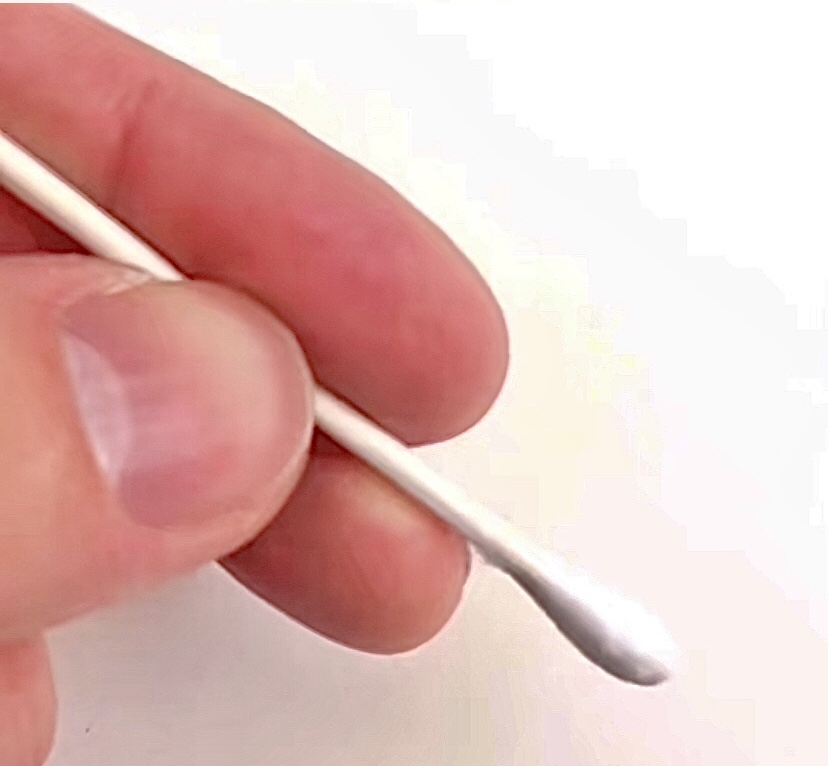
Q-tips can substitute a blending stump in many cases, such as when blending medium sized areas.
Because they’re not as small as the tip of a blending stump, they aren’t ideal for blending very small areas.
My favorite way to blend is using q-tips. The soft cotton tips create very smooth shading, and they’re a great size to shade a variety of places.
I used them in my post on how to draw and shade a realistic water drop.
They’re the all-rounder when it comes to blending. Plus they have two ends – how awesome is that?
Tip: Because of how soft the stick of q-tips are, they bend quite easily which can be very annoying. This is why I use ones with bamboo sticks. They are so much tougher and easier to use for blending.
When blending with Q-tips I like to use one end for the lighter parts, and the other for the darker parts. This saves a lot of time because you don’t need to keep going back and sharpening your blending stump for example.
Can you use tissue paper instead of a blending stump?
Tissue paper provides a different type of blending than blending stumps or tortillons.
Because of how soft and delicate it is, it blends very smoothly and evenly.
However, this also makes it break apart easily and makes it much harder to blend small areas.
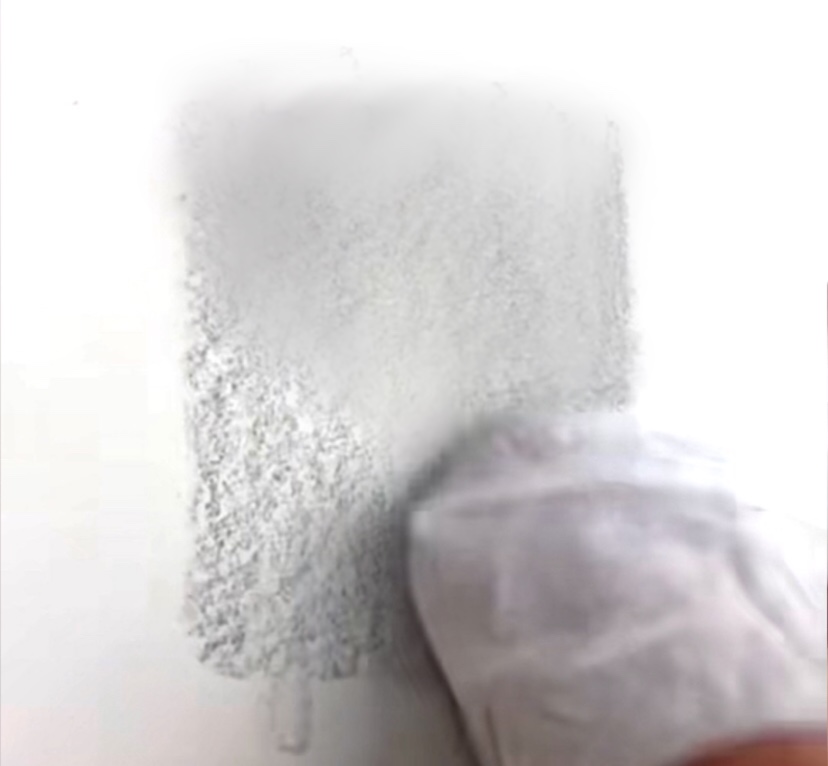
For these reasons, it’s best to use tissue paper to blend large areas like backgrounds quickly and evenly.
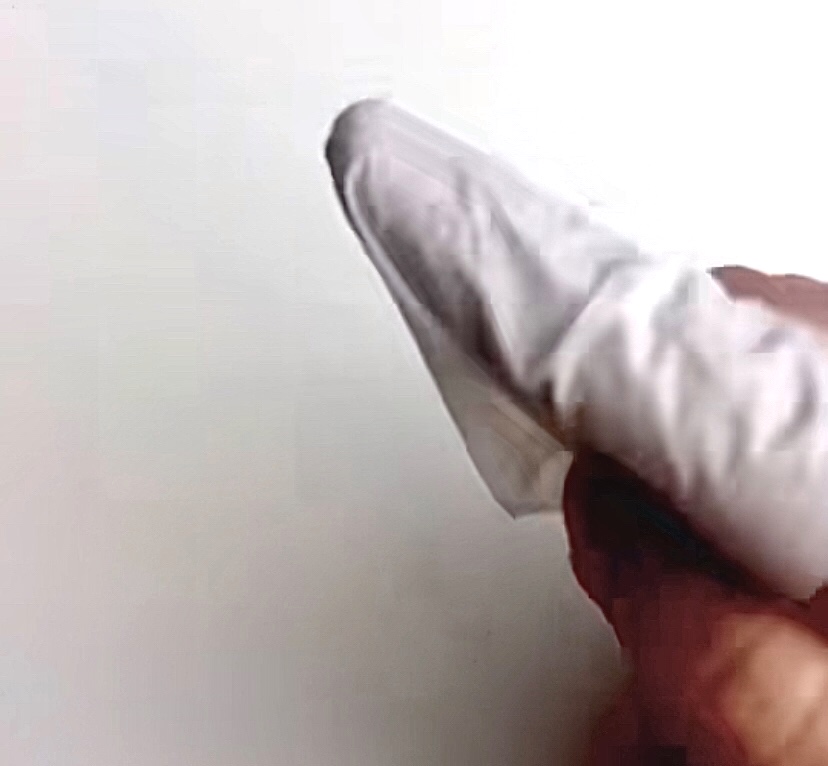
The best way to use it is to wrap it around your index finger like shown in the image. Then blend with circular motion. You want to go very gently so as not to break apart the tissue. Don’t worry if you do though, you can easily replace it, which is another plus of using tissue paper.
Tip: Tissue paper comes in so many forms, some with a soft feel, some with a paper-like feel. You definitely want to use the soft-feel tissue for the best blending results.
What is chamois used for in drawing?
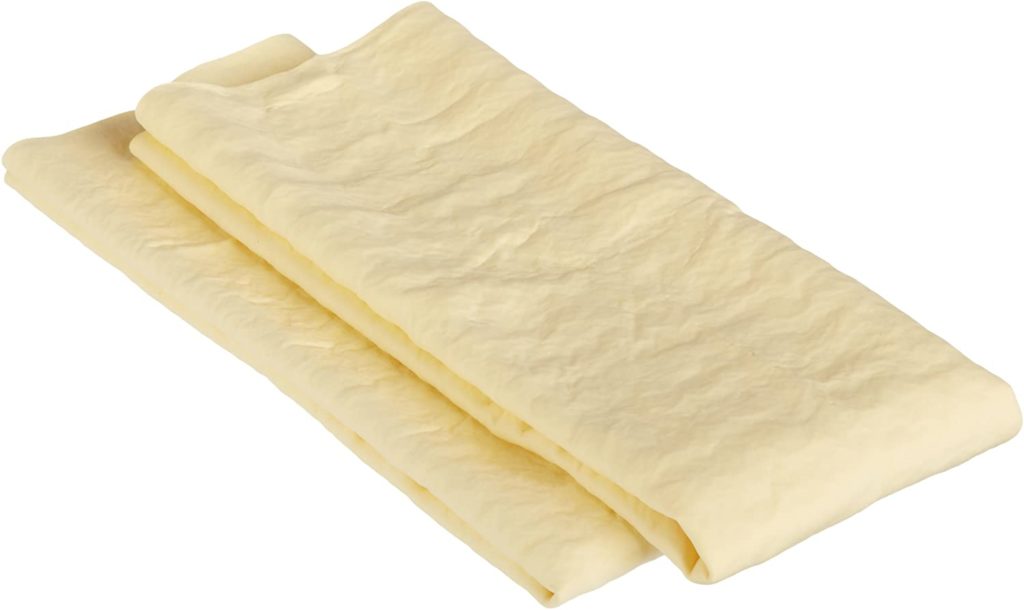
Chamois is a type of rubber-like cloth that is used for delicate blending.
They are used frequently in cleaning/shining cars, but work extremely well for smooth shading. Here’s the one I use.
It’s effects are very similar to when using tissue paper, only with chamois you don’t have to worry about it tearing apart, and it’s easily washable with just soap and water. It can be used 100’s of times.
Chamois usually comes in large sizes, so you should cut it into sheets of a little larger than the size of a sheet of tissue paper.
It’s basically tissue paper 2.0. Used for very light blending of larger areas. You hold it the same way as with tissue paper too, wrapped around your index finger.
Chamois has an interesting property where if you leave it out it goes completely hard. I didn’t know this when I started using it and was about to throw it away. I decided to try wash it as a last resort and within seconds it absorbed the water and turned right back to normal! Very cool. Most come with a storage container though, so this shouldn’t be an issue!
Here's our short video about blending:
Conclusion
When trying to achieve smooth blending, there are multiple blending tools, each designed for a specific type of job.
There’s no one best tool to use – each has it’s own purpose.
I highly recommend getting some of your own blending tools to improve your ability to shade smoothly. Luckily, all of these supplies are very affordable, so start practicing and have fun!
For lots more art tips, check out our other posts, and subscribe to our email list at the top of the page to be notified when brand new posts are uploaded, and for a chance to be drawn!
