Press ESC to close
If you’re an artist, you know that getting new art supplies can be just like Christmas. But if you don’t choose cleverly, you can end up instead with a closet full of once-used purchases, and an empty wallet. Knowing what’s useful and what’s a waste of money can take some experience with buying the good, the bad, and the pointless. But everyone wants to know what are the most needed art supplies for beginners.
That’s why we’ve made this list.
We’ve gathered our ten favorite art supplies that will bring you the most value and be your best friends in your goal of improving your art.
So let’s dive into our list of the 10 the most useful art supplies you can find.
10. Electric Erasers
It can be such a challenge spotting a gimmick.
Seeing this online, I went against all my gimmick instincts and bought it anyway.
And I’m so glad I did.
This electric eraser not only isn’t a gimmick, but it’s so useful I’m shocked that every artist doesn’t own one.
It’s just a tube-shaped eraser that rotates at fast speeds, doing all the motion that you would have to do with your hand at the tap of a button.
But as well as saving you effort and time, this erases far more steadily and accurately.
The power of this thing is unbelievable. It can erase far deeper than what’s possible by hand or with any other eraser out there.
The one shown here comes with 140 replaceable erasers tubes, and of different sizes, so it will last a long time.
This is one of my favorite tools. It’s one of those supplies that never leave my desk.
Ratings for this set:
4.8/5 stars on Amazon.com.
4.4/5 stars on Amazon.co.uk.
9. Pitt Artist Pens
Whether you work mainly with graphite, charcoal, watercolor, acrylic, oil paints, or whatever the medium – every artist needs a set of these.
Pitt Artist Pens come with 8 different pens, all of which use high quality India ink.
The great thing about this set is each pen has a very different tip for different functionality. Take a look at the photo above to see how different each one is.
There are 4 sizes of nibs, a brush pen, a soft brush pen (my personal favorite), a huge bullet nib, and a soft calligraphy nib.
They are all odorless, permanent and waterproof, which is nice. They also are extremely lightfast, meaning they are very resistant to fading over long periods of time.
The brush pen is extremely useful and versatile. Because of the softness and the shape of its nib, it allows you to create beautiful, fluid brush strokes that can be broad, medium or narrow width, depending on the angle and pressure.
Each of these pens are also smudge-proof once dry, which is a huge plus.
It’s pretty much common knowledge that you can’t really go wrong with Faber-Castell, and these pens make a fantastic addition to any artist’s arsenal.
Ratings for this set:
4.8/5 stars on Amazon.com.
4.7/5 stars on Amazon.co.uk.
8. Blending Stumps
The very idea of a blending stump used to make me nervous before I ever used one.
But it’s extremely simple – a stump that blends things.
People boast about not needing these and just using their fingers instead. While using your fingers can be effective, they adds oils to the page, are messy, and more importantly, do not work for blending very small areas.
If you use graphite, charcoal, colored pencils, pastels, then having multiple blending stumps is a must.
They allow you to get into every nook and cranny, and at the same time keep your fingers clean.
The way I see it is: tissue or fingers for large areas, Q-tips for mid-size areas, and blending stumps for the smallest of areas, like most parts of the eye for example.
Sandpaper or shaving/peeling is the best way to sharpen them back to a clean point.
Blending stumps are very cheap, last a long time, and allow you to blend cleanly and precisely in tight spaces where it isn’t really possible to reach without them.
So there’s really no excuse for an artist not to have some of these.
The set shown here comes with 12 stumps of a variety of sizes, and a sandpaper tool for sharpening.
Ratings for this set:
4.7/5 stars on Amazon.com.
4.7/5 stars on Amazon.co.uk.
7. Kneaded Erasers
Like with blending stumps, seeing a kneaded eraser before knowing what it is was like looking at some complex alien tool that must be impossible to use.
But that really can’t be farther from the truth.
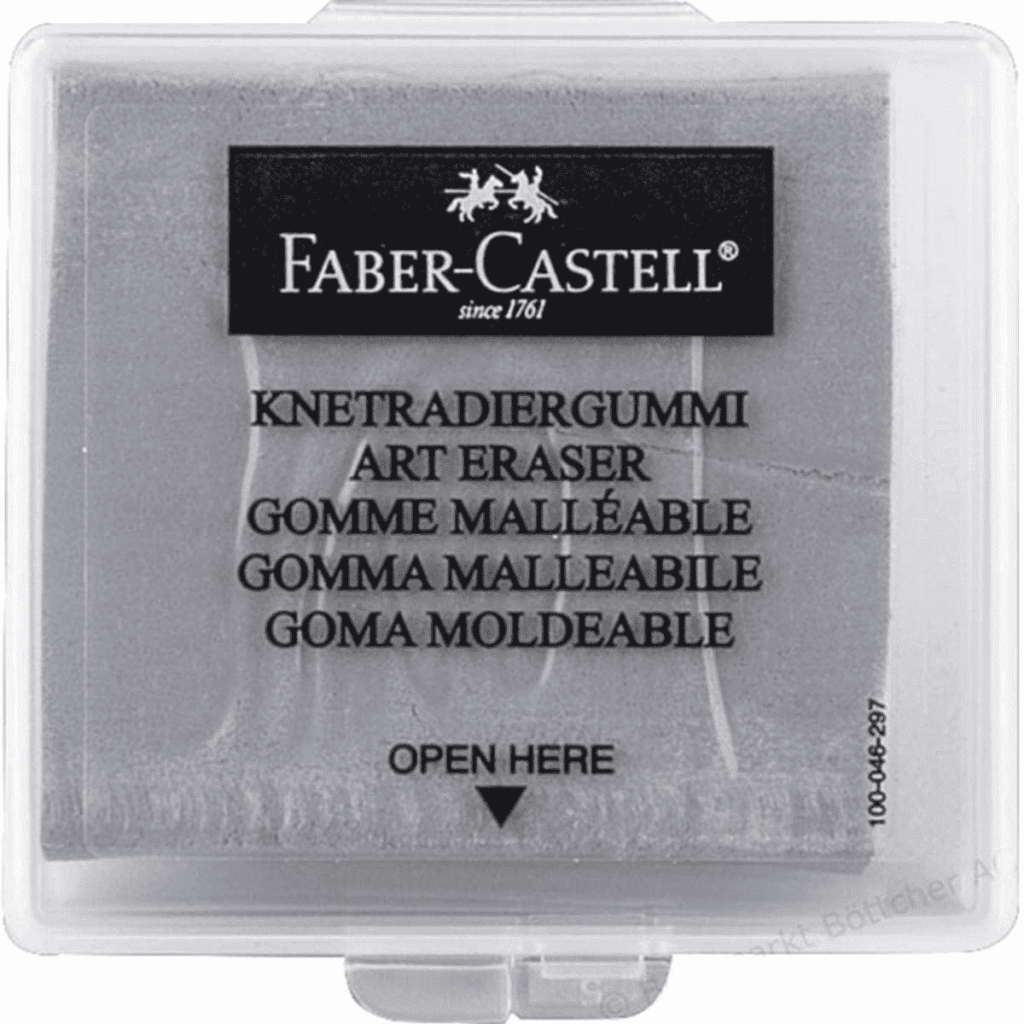
Here’s what a kneaded eraser is: an eraser that is in putty form, to allow you to mold it to whatever shape you like.
It’s really as simple as that.
It doesn’t fully lift the marks off the page – but it’s not supposed to!
The main reason artists use kneaded erasers is for its ability to lighten areas, without fully erasing them.
The fact that it can be molded means it you can shape it into a point for super-precise erasing, or just roll it up and down large areas like pizza dough and watch it lift up the marks (such as tracing lines). Molding the tip into a line can be extremely useful too.
It is also great for lightening dark tones in drawings of hair or fur.
Every artist KNEADS a kneaded eraser… remind me never to do that again.
But seriously, it’s another one of those supplies that every artist should have.
I mean, you can get away with not using it, but it has so many benefits, and it’s extremely cheap, so there’s no reason not to get one.
Ratings for this set:
4.7/5 stars on Amazon.com.
4.6/5 stars on Amazon.co.uk.
6. Solvent
Solvent is one of those supplies that once you use, you can’t imagine how you survived without it before. Simply put, solvent blends colored pencils, turning their color smooth, vibrant and almost paint-like.
Blending colored pencils without solvent can be challenging, and tiring, but with it, it’s as easy as dipping a small brush or Q-tip into the solvent, dabbing off the excess, and using circular motion over your colored areas.
The results are immediate, and it’s one of the most satisfying things you can do.
There aren’t that many brands of solvent, but I use the one pictured above because it’s virtually odorless and works beautifully.
Ratings for this set:
4.6/5 stars on Amazon.com.
4.5/5 stars on Amazon.co.uk.
5. Electric Sharpeners
This one is for anyone who still uses those little sharpeners you get in school. You know the ones that take so much time and effort, cause a mess and don’t even sharpen consistently?
I can’t even remember the last time I used one, because changing to an automatic sharpener made the old ones not even an option anymore.
Electric sharpeners are infinitely better at sharpening and saving time when compared to regular school-type sharpeners.
To use, you push in your pencil for a few seconds, and out pops perfectly sharpened pencil, with all shavings automatically stored inside the sharpener.
The electric sharpener shown here comes with a plug, but can also be used wirelessly with 4 AA batteries (my preferred way by far) which last a surprisingly long time.
It also has an auto-stop feature, which means the sharpener knows exactly when the pencil is sharpened and stops exactly at that point, making sure not to gobble-up your treasured pencils.
It sharpens any pencil (graphite, charcoal, colored pencil) to a fine point, which is key for details in your drawings.
The dozens of hours I’ve saved and the annoyance I’ve avoided by using this is invaluable.
If I had to choose one supply on this entire list that saved me the most time and effort, it would be this one without question. I’d pay close to a hundred for this, but it’s nowhere near that price.
Ratings:
4.6/5 stars on Amazon.com.
4.5/5 stars on Amazon.co.uk.
4. Mono Erasers
Regular erasers are good for erasing lots of marks. But what about the details? Ever try to erase a single eyelash or a leaf of a tree with a big ol’ clunky eraser? Not fun. And more importantly, not accurate.
That’s where mono erasers come in.
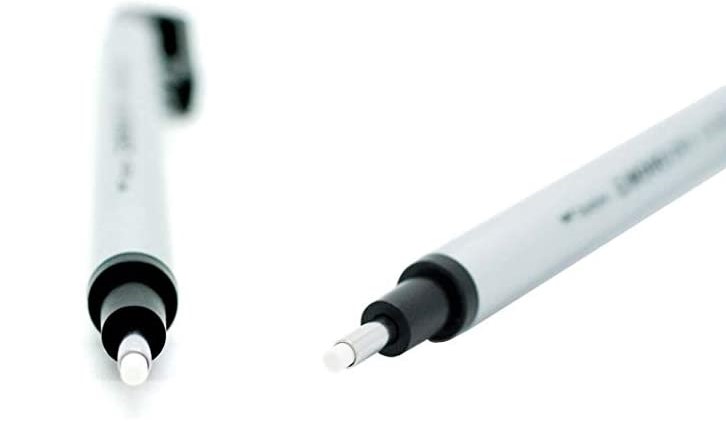
They look just like any pen, except they are filled with a single tube-shaped eraser. This allows super-precise erasing, but even better it allows you to control your eraser the same way you control your pencil. The result is extremely accurate, fine erasing.
The top can be pressed to push through more eraser as it wears away after enough usage.
You might be thinking why someone would buy this when they can buy the electric eraser listed earlier.
The answer is, while electric erasers are powerful and precise, they’re not quite as precise as mono erasers due to their rotating eraser and large, heavier build.
I like to use the electric eraser for medium and fine erasing (especially if the marks are very dark) and a mono eraser for super tight areas where precision and control is of highest priority.
The eraser shown comes with two spare refills, each lasting a long time.
Ratings for this set:
4.8/5 stars on Amazon.com.
4.7/5 stars on Amazon.co.uk.
3. A Faber-Castell Sketch Pad
There are just so many options for paper out there, I’m sure you’ve also been overwhelmed by the choice.
I’ve used a lot of brands of paper over the years, but this is the one that stands-out as my all-time favorite.
It is such high-quality, versatile paper, making it perfect for graphite, colored pencils, pastels and watercolor pencils.
This is the only paper I ever use for colored pencils – I don’t even bother using other paper with colored pencils anymore, because this paper checks every single box.
The one and only thing that could be improved about the sketchpad is that if you want to remove a page it can be a little awkward as they are glued tightly, but not a big deal.
The paper is a really good thickness, allowing perfect, smooth blending without a worry of damaging the page.
It might be a bit pricy compare to cheap brands, but it has 40 high-quality A4 pages that allow you to create beautiful art with no headaches, so paying for other cheaper quality sketch pads for a little less is actually more of a waste of money in my opinion. I’ll just let that sink in for a minute.
I’m always stocked up on this paper. It’s my go-to sketchpad and I’m so grateful to have been told about it.
Ratings for this set:
4.8/5 stars on Amazon.com.
4.7/5 stars on Amazon.co.uk.
2. Prismacolor Colored Pencils
Before I started using colored pencils, I mainly used graphite. I was used to choosing my pencils while drawing based solely on how dark or light they were.
But with colors, it’s a very different story.
Learning something new is one of the complete best (and fastest) ways to improve your art ability in general. It challenges your mind in new ways, and strengthens it.
Like everything, there are many brands of colored pencil. I had a hard time choosing one, because they all seemed so great and I didn’t want to choose the wrong one.
Here’s a tip to save you the time: choose Prismacolor.
You will not regret it. I’m not sponsored by them, I’m just aware of how great their colored pencils are.
But for the overall best experience, for beginners especially, you can’t go wrong with Prismacolor.
They have a soft core, making them melt like butter as they are used.
They are about $36 for a set of 36 colored pencil at the time of writing the list.
That’s $1 per pencil. And each pencil lasts a very long time.
Some people go for cheaper sets but I never understood that.
Why would I pay $20 and be stuck with a set of mediocre, frustrating-to-use colored pencils for the next 2 years, when I can instead pay a little more and get 36 high-quality colored pencils that I adore using and that put me in a good mood each time I open the box for the next 2 years?
The choice is obvious when you think about it.
Ratings for this set:
4.8/5 stars on Amazon.com.
4.7/5 stars on Amazon.co.uk.
1. Toned Paper
Using Toned paper is the closest thing I’ve seen to magic.
It opens-up new levels of depth and realism in your drawings that you didn’t think possible.
The thing about it is, because it’s toned and not white, it gives you the ability to add white highlights as you please.
This is extremely useful because, with white paper, you can only darken the page, and then erase for the highlights (or add extreme white using a white pencil or pen).
But with toned paper you can choose whatever degree of white you want.
The reason it works is, it allows you to start with the middle tone (the gray paper) and then have the ability to add darker values, as well as lighter ones at you own ease.
Whereas with white paper you start at the lightest tone possible (white) and add darker values.
If you’re looking for realism, you need toned paper.
I’m not saying you can’t do it without it, of course you can, but toned paper will make your life so much easier.
Look at any realistic drawing video on the internet and you’ll see that 99% of them are on toned paper!
The paper shown here is my favorite to use. It’s high-quality paper that is smooth-textured, and surprising affordable.
Ratings for this set:
4.8/5 stars on Amazon.com.
4.8/5 stars on Amazon.co.uk.
Things to remember!
When choosing any art supply, think about it these three things first:
1. Will I use it more than just a few times?
2. Am I going to enjoy using it?
3. Will it help me become a better artist?
If the answer is yes to all of these, then give it a go!
You’ll see your artwork improve in no-time! And always remember; have fun!
Recent Posts.
How to Draw a Simple Rose In 4 Easy Steps – 2022 Tutorial
How to use Graphite Pencils for Beginners
How to Easily Draw and Shade a Realistic Water Drop
Can You Make Your Own Blending Stump/Tortillon? (Without Sandpaper)
Social.
WE DRAW ONE
SUBSCRIBER EACH MONTH
When you subscribe you get a chance each month to be drawn by Smashing Pencils and have it sent to you. We also email each of our subscribers our “8 Steps to Better Artwork” guide as our welcoming gift to you.


