Press ESC to close
This post may contain affiliate links, which means we’ll receive a commission if you purchase through my link, at no extra cost to you. Full disclosure here.
There a four main categories of erasers, with each category having its own various subcategories…that’s a lot of erasers. It can be confusing and overwhelming at first to know which one to use or how to use them properly. In this post, we get into exactly how to use each of the four types of erasers, plus a bonus erasing hack at the end!
The 4 types of erasers are block erasers, stick erasers, kneaded erasers and electric erasers. Block erasers are for large areas, stick erasers are for making fine lines and highlights. Kneaded erasers are for gently lifting marks to lighten areas and electric erasers are for powerful erasing.
Rubber/Vinyl/Gum Erasers
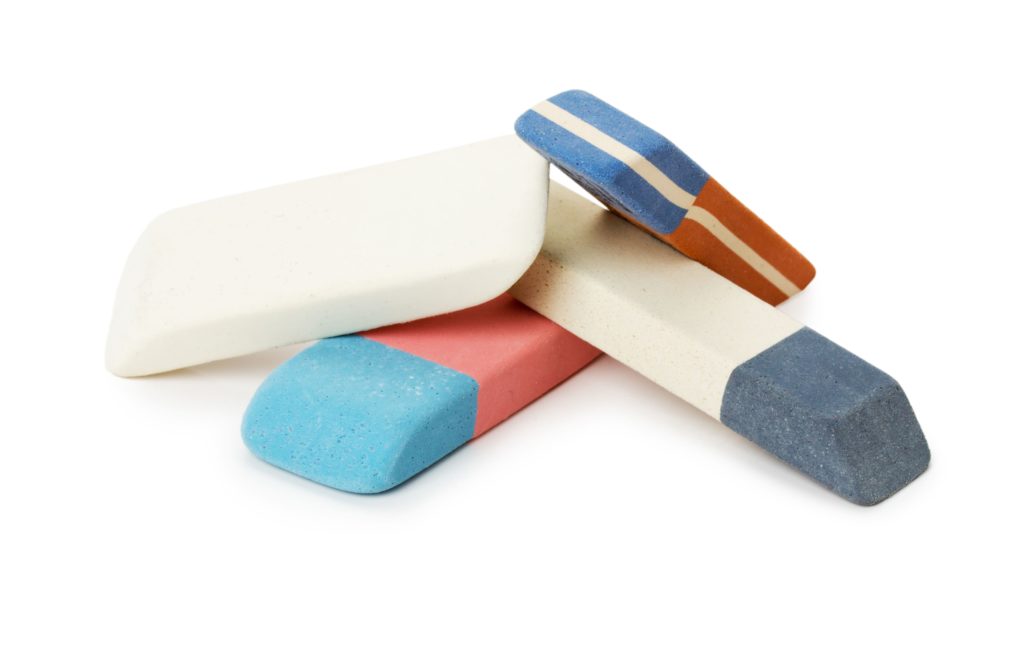
We all know them and love them. They’re your standard block-shaped eraser.
Great for general erasing or for erasing large areas very quickly.
But did you know there are 3 types of these block erasers? I only found this out recently and it blew my mind.
The first kind is the regular rubber erasers that everyone uses.
The second is vinyl erasers. They are also very common, but most people (myself included) use them interchangeably with rubber erasers without knowing the difference.
Vinyl erasers erase the best of the 3 types of block erasers, erasing pencil easily and even some types of ink. But because of how good they are at erasing, they also are very harsh on your page, so they need to be used with care.
The last type of block eraser is the gum eraser. This is the softest of the 3, so it’s used for delicate erasing, where you need to keep your page intact, or just want to lift a bit of the pencil off the page.
I went through the first few years of my art career without trying these out, but once I did, they instantly became one of my most precious art tools.
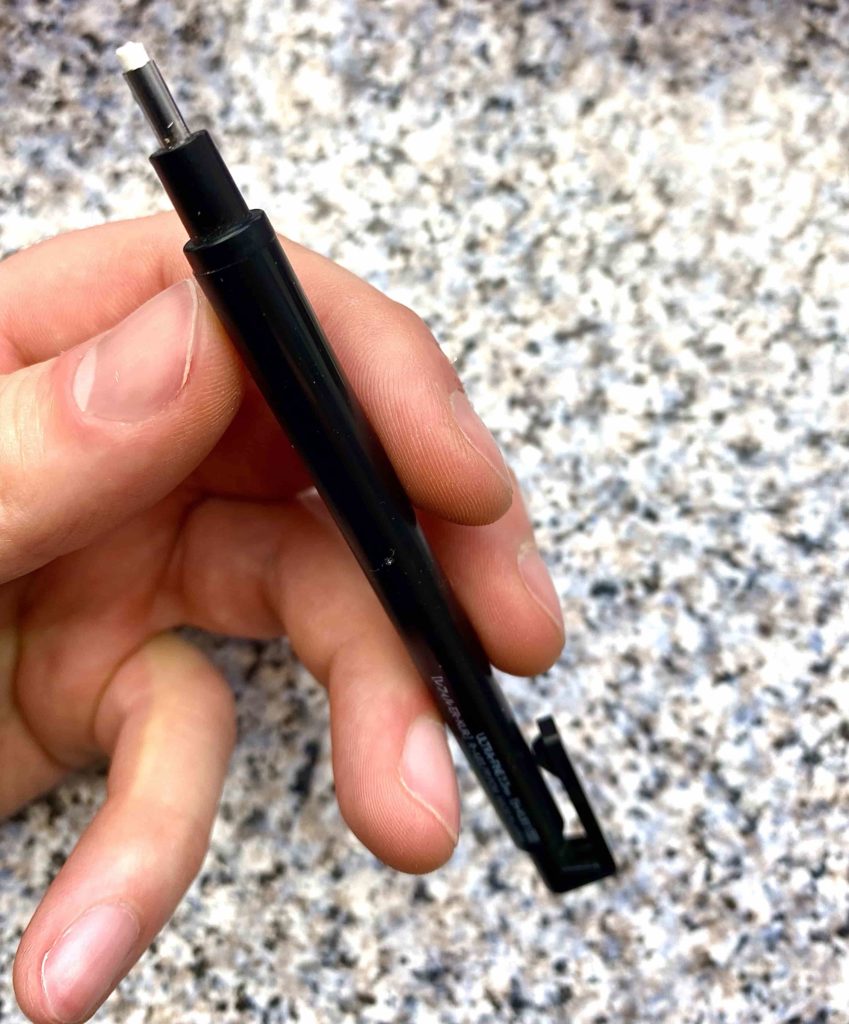
Stick erasers are simply a thin, cylindrical eraser cased in a plastic tube. They come in a variety of thickness depending on the needs of the artist, but the real magic comes from using the thin ones (this is my go-to stick eraser).
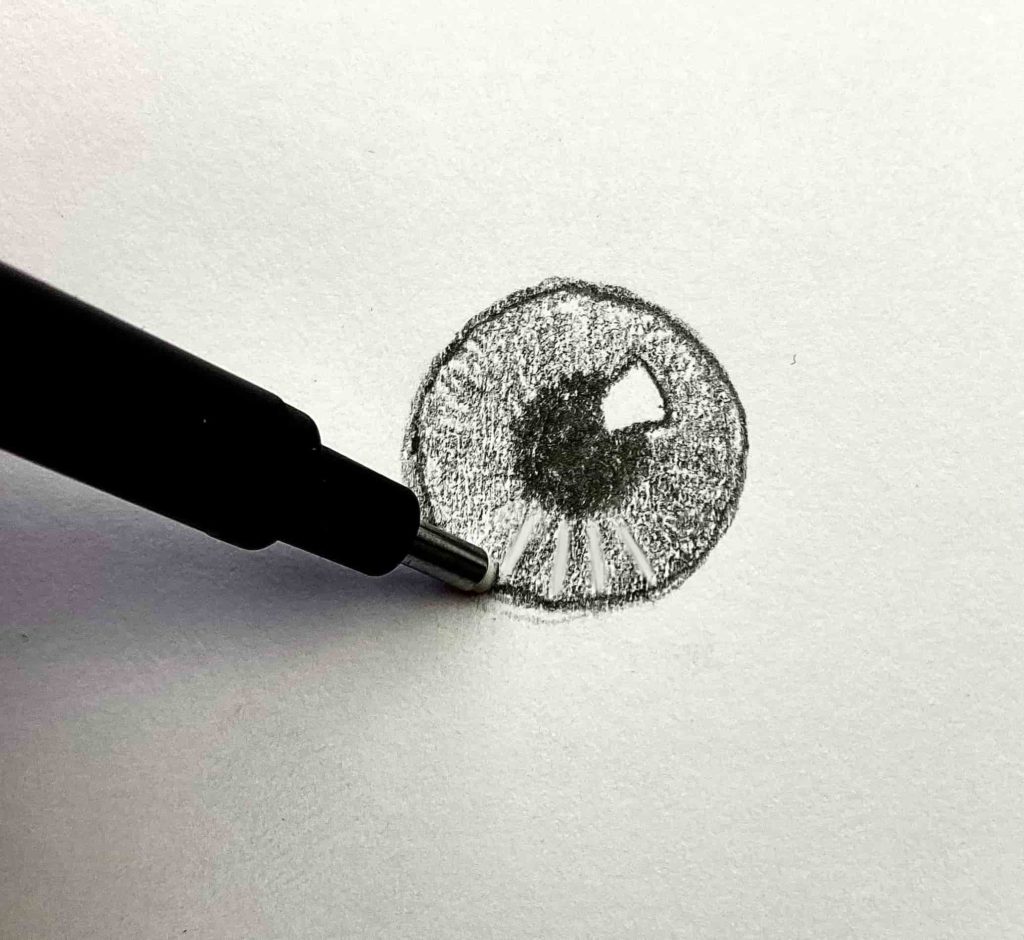
Using these thin erasers opens up a world of opportunities. They allow you to create extremely thin highlights or erase thin strips in places like, for example, the iris of the eye or when shading a sphere. They are also used for tidying up your drawings because they can get to those hard-to-reach areas that are too big for regular block erasers.
There are also pencil erasers. These are very similar to stick erasers, only they are literally a pencil that full of rubber instead of graphite. This allows you to be able to sharpen them to a fine point. Because of how fine a point you can get them to, they are usually made of a harder type of rubber (to stop it from bending as you erase). It has a different, more scratchy feel as you erase, so chalkboard-phobics beware! This also makes them not as good at erasing than stick erasers. Personally, I prefer stick erasers, but if you really need that point for super fine erasing then go for it!
Kneaded Erasers
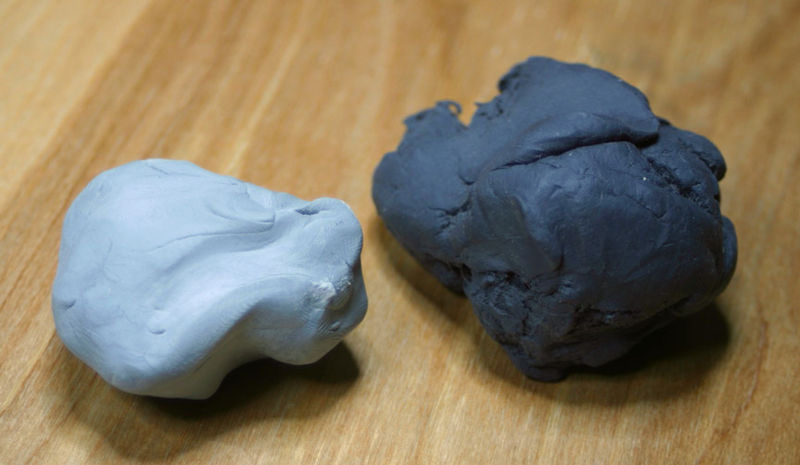
Kneaded erasers are awesome. The drawbacks of every other type of eraser is that their shape can’t be changed. But kneaded erasers are like putty and can be molded to whatever shape you want – a point, a thin line, a thick line etc. This gives you so many more options in terms of how you want to eraser. I like to think of it more as a mark-making tool than an eraser (although I think of other erasers like this sometimes, and you should too, it completely changes your perspective)!
So many beginner artists get put off after using a kneaded eraser because they use it and say “this is terrible, it doesn’t eraser properly”. But kneaded erasers aren’t supposed to erase fully. They are made to lift up some, but not all of the marks on the page. This makes them perfect for lightening areas of the hair for example. If you’re familiar with digital art, think of them like an eraser tool set to 50% opacity.
Each brand of kneaded eraser has a different consistency, some harder than others. The harder ones tend to keep their shape slightly better, but don’t erase as well as the soft ones. I prefer the soft ones, but it’s a matter of preference. Don’t worry if your one is too hard, here’s how to make your kneaded eraser softer.
When you erase with kneaded erasers, you can see the black pencil marks getting stuck to it. Don’t worry about this, you just need to knead it a bit and it will disappear, or just use a different section of it. It actually takes some marks to be incorporated to get it working at it’s full potential!
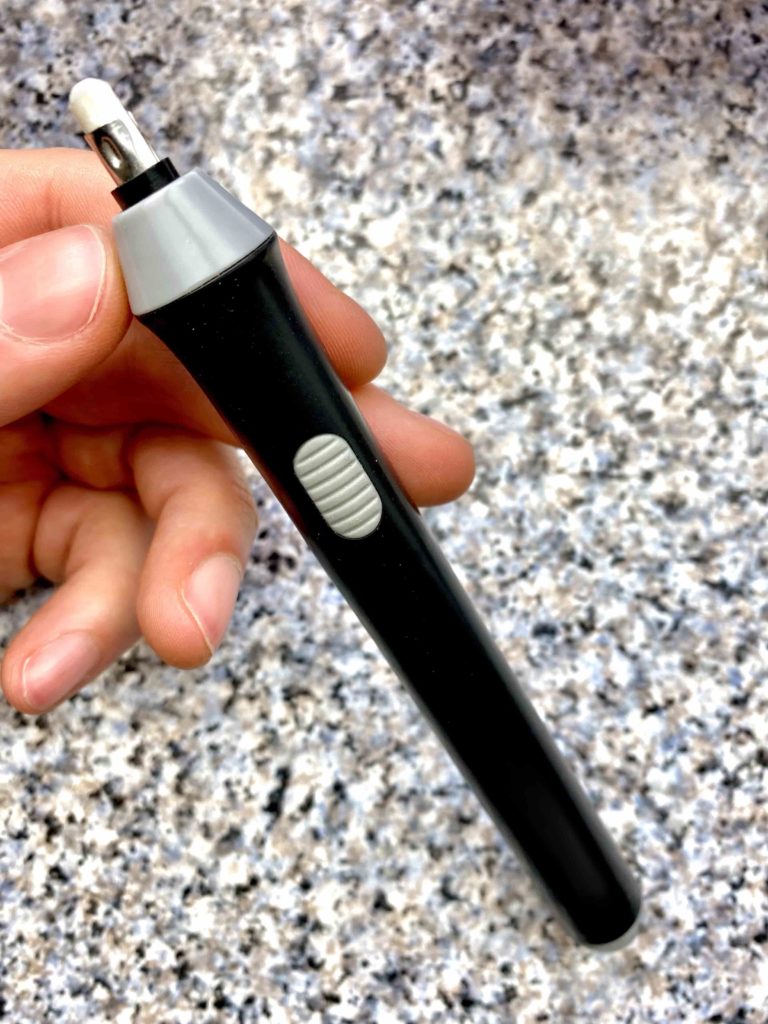
Electric erasers are without a doubt my favorite erasers. When I bought my first one, I was 90% sure it was going to be a gimmick. But it turned out to be an extremely useful and valuable tool that I can’t live without now.
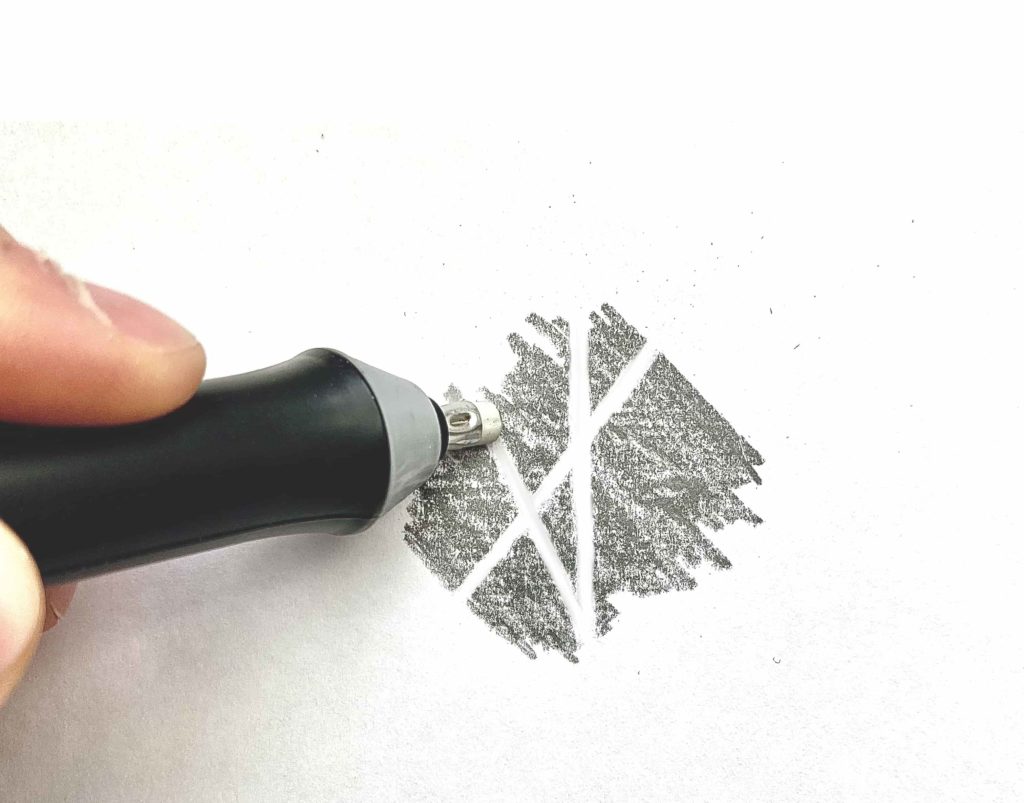
Electric erasers are similar to stick erasers, the main difference being that their eraser-tube rotates fast at the push of a button.
This makes them extremely powerful at erasing, but the small size of the eraser allows you to erase tiny details extremely well. I recently made a blog post on how to shade a realistic water drop and this eraser was very good for cleaning up the tight areas!
Because of the rotation of the eraser, you don’t have to move your hand back and forth. This let’s you erase so much more precisely.
But don’t get me wrong, these can also be used to erase large areas extremely well. I use them any time I need to erase a large area well, or to get rid of any deep, nasty lines.
Trust me, if you don’t have one – get one. You will not regret it. They’re relatively cheap too (I don’t know how, but somehow they are). Here’s the one I use every day.
Bonus Erasing Hack
And that’s the four types of erasers that artists use.
You’ve got this far, so here’s an awesome erasing hack I just learned.
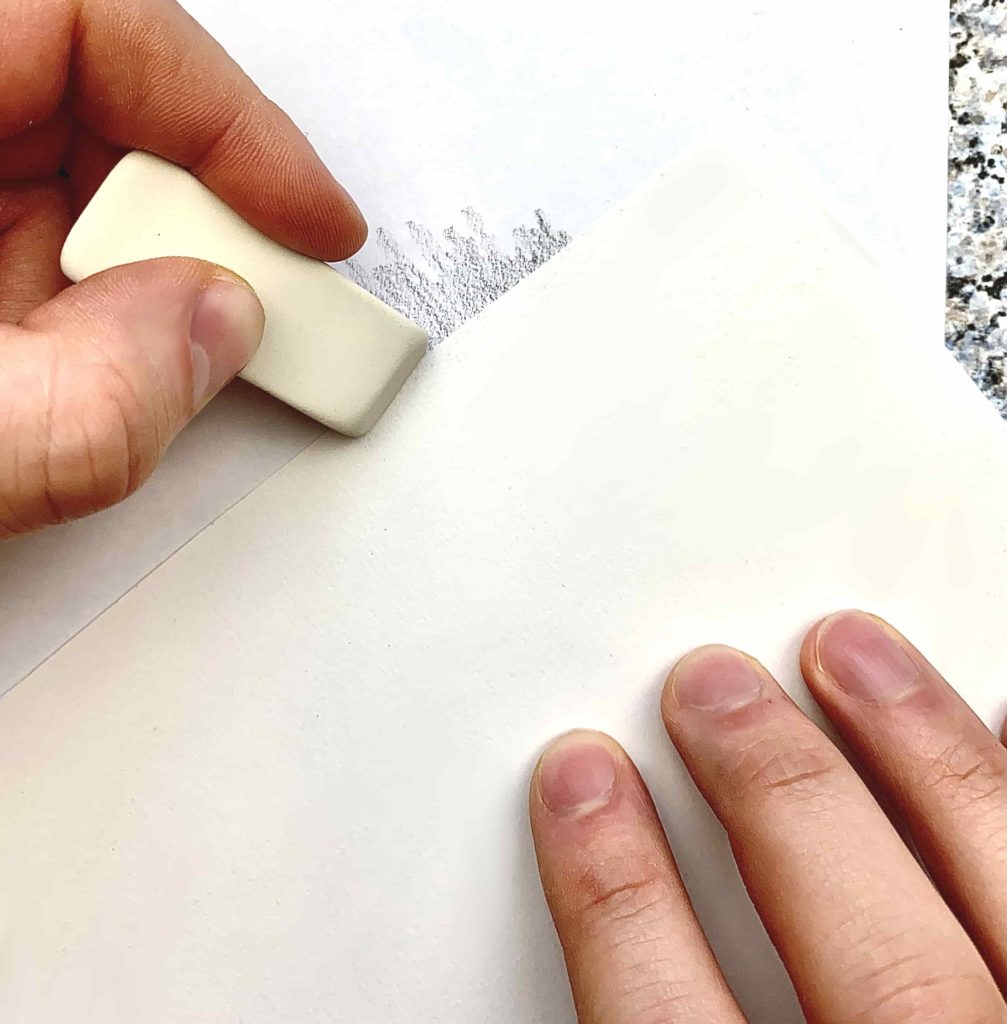
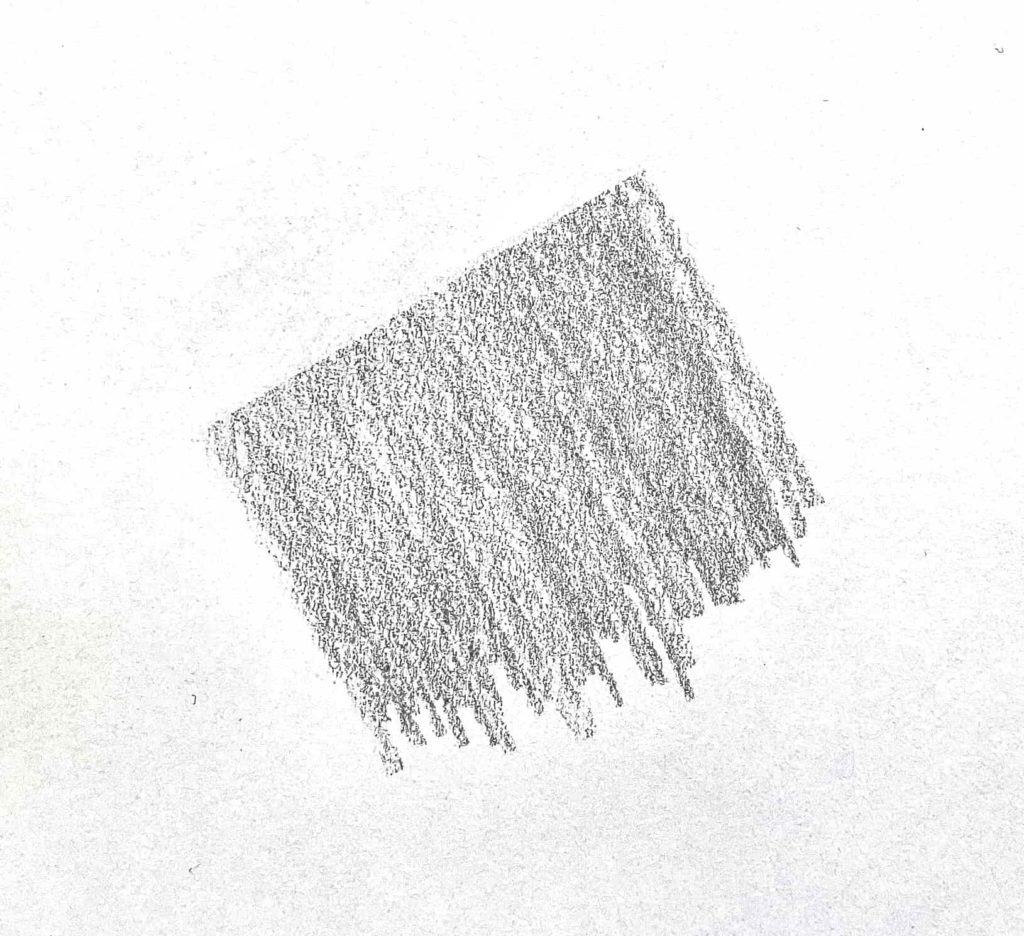
If you ever need to erase in a perfectly straight line, for example if you wanted to make the edges of a square perfectly straight try this:
Put a piece of paper over your drawing, covering the parts you don’t want to erase. Hold the paper firmly in place (it works better with thick paper, or card) and erase to your heart’s content. And voilà! A brilliant way to erase perfectly straight! So simple, I can’t believe I never thought of this sooner!

So there you go! I hope you learned a lot from this article. Subscribe to our newsletter at the top of the page to get notified when new posts like this are posted, and for a chance to be drawn!
I’ve made a short YouTube video on how to use these types of erasers. Check it out below for a quick demonstration!
